 USD
 KES - Kenya

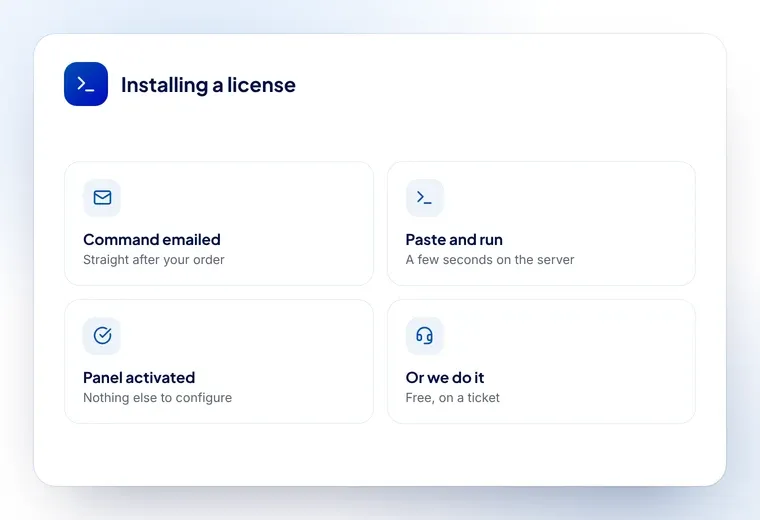
Installing cPanel on a fresh VPS is not difficult, but it is unforgiving about the order you do things in. This is the sequence that works, and the two mistakes that cause most of the support tickets we see.
Before you start
cPanel is particular about its environment. Get these right first:
- A supported operating system. AlmaLinux 9, Rocky Linux 9 or CloudLinux. cPanel does not run on Ubuntu or Debian — if you picked one of those at checkout, rebuild the server first
- A clean install. No Apache, no Nginx, no PHP, no MySQL. cPanel installs its own stack and will refuse if something is in the way
- At least 2 GB of RAM, and more if the server will carry real sites
- A hostname that is a fully qualified domain, like
server.yourbusiness.com, pointing at the server - Your server’s IP address, which is what the licence is issued against
The two mistakes: installing on the wrong distribution, and installing a web server first. Both mean starting over.
Step 1 — order the licence
Order the cPanel shared license and give us the server IP. The licence is issued against that one address, so it has to be the IP the server actually uses. Pay by card or bank transfer.
Most licences are active within minutes.
Step 2 — set the hostname
hostnamectl set-hostname server.yourbusiness.comPoint an A record for that hostname at the server before you continue. cPanel checks it during installation.
Step 3 — run the cPanel installer
cd /home && curl -o latest -L https://securedownloads.cpanel.net/latest && sh latestThis takes a while — typically forty minutes to an hour on a small VPS. It downloads from cPanel’s own servers, which is worth noticing: the software is the vendor’s release, not something we supply.
Leave it running. If your connection drops, the install stops, so start it inside screen or tmux if you
are on anything unreliable.
Step 4 — apply the licence
Once the installer finishes, the licence we issued is picked up automatically because it is tied to your IP. If the panel says the licence is invalid, update it by hand:
/usr/local/cpanel/cpkeycltThat forces a licence refresh. In almost every case that is all it takes.
Step 5 — log in and set it up
WHM is at https://your-server-ip:2087. Work through the initial setup wizard: nameservers, contact
address, a first account. Then issue a certificate for the hostname so the browser warning goes away.
When the licence check fails
Three causes, in the order they actually happen:
- The IP does not match. The licence is issued against one address. If the server has several, or you gave us the wrong one, it fails — send us the right IP and we will move it
- The firewall is blocking the check. cPanel verifies its licence over HTTPS to its own servers. If outbound 443 is closed, the check cannot complete
- You changed servers. The licence does not follow automatically. Open a ticket; one IP change is free
If you would rather not do any of this
Say so. Open a ticket after you order and our team installs the licence for you at no extra cost, or take a cPanel VPS, which arrives with the panel already in the price and already installed.